
To warm up your voice, start with body release and easy breathing, then move through gentle humming, lip trills, sirens, and simple vowel scales. For most singers, a useful warm-up takes 5-10 minutes. The goal is not to prove your range before you sing; it is to make the voice feel easier, steadier, and less tense before practice, rehearsal, recording, or performance.
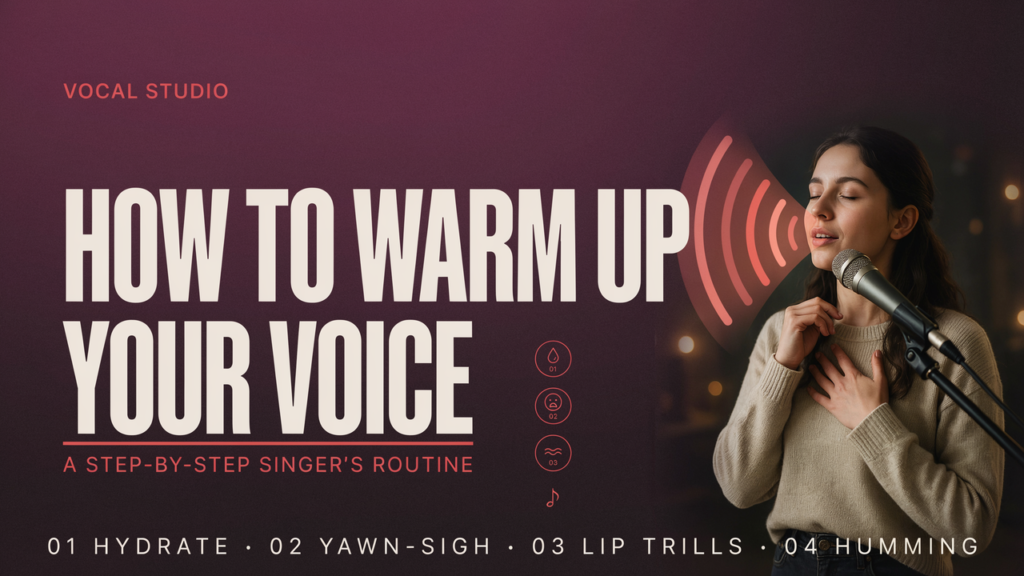
Quick Vocal Warm-Up Routine
| Step | Exercise | Time | Goal |
| 1 | Shoulder, jaw, and neck release | 1 minute | Reduce physical tension before sound |
| 2 | Low, steady breathing | 1-2 minutes | Set up breath control |
| 3 | Gentle humming | 1-2 minutes | Begin vibration lightly |
| 4 | Lip trills or tongue trills | 2 minutes | Balance airflow and reduce strain |
| 5 | Sirens on “ng” or “oo” | 2 minutes | Connect low, middle, and high areas |
| 6 | Easy vowel scales | 2 minutes | Move from warm-up into singing |
If you are not sure where your comfortable range starts, test your notes first with the vocal range finder or review the basics in the vocal range guide. Warm-ups work best when you begin in the easy middle of your voice, not at the top or bottom.
Why Warming Up Your Voice Matters
Your voice is not a fixed instrument sitting outside your body. It responds to sleep, hydration, illness, stress, speaking load, posture, and how aggressively you start singing. A warm-up gives your breath, vocal folds, jaw, tongue, and resonance system time to coordinate before the music becomes demanding.
A good warm-up can help you find pitch more accurately, smooth the transition between registers, reduce throat tension, and make high or low notes feel less sudden. It does not guarantee that you will never strain your voice, but it lowers the chance of starting cold and forcing sound before your body is ready.
For general voice-care habits, the NIDCD recommends hydration, vocal rest when tired or sick, avoiding vocal overuse, and using good breathing technique when singing or speaking. Their voice-care guidance is a useful medical reference if you rely on your voice often.
How Long Should You Warm Up?
For everyday practice, 5-10 minutes is enough for most singers. Before a long rehearsal, studio session, choir performance, or demanding set, 10-20 minutes may be more appropriate. Longer is not always better. If the warm-up makes your voice tired, it has stopped being a warm-up.
Use feel as your main guide. After warming up, your voice should feel responsive, flexible, and easier to control. It should not feel scratchy, swollen, pressured, or exhausted.
Step 1: Release Body Tension
Before singing, loosen the areas that most often interfere with sound: shoulders, neck, jaw, tongue, and upper chest. Roll your shoulders slowly, let the jaw hang for a moment, turn your head gently side to side, and take a few quiet breaths.
This step is small, but it matters. If your jaw is locked or your shoulders are lifted, the first vocal exercise will often become tight before it even begins.
Step 2: Set Up Your Breathing
Take an easy breath low into the body, then exhale on a steady “sss” for 6-10 seconds. Keep the ribs gently expanded and avoid pushing the stomach hard. Repeat a few times, then try the same steady airflow on “vvv” or “zzz.”
This is not about taking the biggest breath possible. It is about learning to release air steadily. If you need more detail, use the breathing exercises for singers guide before moving into harder vocal work.
Step 3: Start With Gentle Humming
Hum lightly on a comfortable pitch. You should feel a gentle buzz around the lips, nose, or face, not a squeeze in the throat. Move through a simple three-note or five-note pattern, staying in the middle of your range.
Humming is useful because it begins vocal fold vibration without asking for a loud, open sound right away. Keep it easy. If the hum feels blocked, reduce volume and check jaw tension.
Step 4: Use Lip Trills or Tongue Trills
Lip trills are the “brrr” sound where your lips flutter. If lip trills are hard, try a tongue trill or use a voiced “vvv” instead. Glide gently up and down, then try short scale patterns.
These semi-closed exercises help many singers balance airflow and vocal fold closure without pressing too hard. They are especially useful before high notes because they let the voice move upward without immediately adding big volume.
Step 5: Connect Your Range With Sirens
On “ng,” “oo,” or a lip trill, slide from a comfortable low note to a comfortable high note and back down. Do not aim for your highest possible note. The goal is a smooth connection through your range.
If your voice flips, cracks, or jumps, make the siren smaller. Stay in the part of your voice that can move smoothly today. Over time, this helps connect chest voice, middle voice, and head voice without forcing. For more on that transition, see chest voice vs head voice.
Step 6: Finish With Easy Vowel Scales
Once the voice feels awake, sing simple five-note scales on “ah,” “ee,” “oh,” or “oo.” Start in the middle, move up by half steps or whole steps, then come back down. Keep the volume moderate and the tone clean.
This step bridges warm-up sounds into real singing. If you plan to sing a high song, do not jump straight into the hardest note. Build toward it gradually. A focused high-note guide can help if the top of your range feels tight.
Match the Warm-Up to Your Voice Type
Higher and lower voices often need different starting points. A soprano or tenor may warm up comfortably a little higher, while a baritone, bass, or lower alto may need more time in the lower middle range before moving upward.
Use the voice types guide if you are unsure where your voice sits. You can also use targeted routines for soprano and tenor warm-ups or baritone and bass warm-ups.
Common Warm-Up Mistakes
- Starting too loud. A warm-up should begin easier than your normal singing volume.
- Starting too high. Begin in your comfortable middle range and expand outward.
- Turning the warm-up into a workout. If you are tired afterward, you did too much.
- Ignoring pain or hoarseness. Warm-ups should not hurt. Stop if the voice feels worse.
- Skipping hydration and rest. Technique cannot fully compensate for a tired or dry voice.
When Not to Push a Warm-Up
Do not use a warm-up to force your voice through illness, hoarseness, throat pain, or vocal fatigue. Gentle humming may feel helpful on a tired day, but demanding scales are not a cure for an irritated voice. If your voice is hoarse, raw, or unusually limited, rest and reduce vocal load.
If hoarseness, pain, loss of range, or effortful speaking continues, consider medical advice from an ENT or qualified voice professional. For broader prevention habits, review vocal health for singers.
Should You Cool Down After Singing?
After demanding singing, a short cool-down can help the voice return to an easier state. Try 1-2 minutes of gentle descending hums, lip trills, or quiet slides. Keep it softer than your warm-up. The goal is recovery, not more practice.
FAQs About Warming Up Your Voice
How do you warm up your voice before singing?
Start with body release and steady breathing, then use gentle humming, lip trills, sirens, and easy vowel scales. Move from light sounds to fuller singing gradually.
How long should a vocal warm-up take?
Most singers need 5-10 minutes for normal practice. Before demanding singing, 10-20 minutes may help, as long as the warm-up does not cause fatigue.
What is the best vocal warm-up exercise?
Lip trills, humming, and sirens are useful for most singers because they encourage airflow, gentle vocal fold vibration, and smooth register movement.
Should I warm up if my voice is hoarse?
If your voice is hoarse, tired, painful, or unusually limited, do not push a normal warm-up. Rest, hydrate, and seek medical advice if the issue persists or keeps returning.
Can warm-ups increase vocal range?
A warm-up may help you access your current range more comfortably, but long-term range improvement comes from consistent technique, healthy practice, and gradual training.
Erika Parker is a vocal analysis and singing education writer at Vocal Range Test. She focuses on vocal range testing, voice type analysis, pitch recognition, and singing tools for vocalists, musicians, choir singers, and beginners.